Squatting is one of the most effective compound exercises for building lower-body strength. It works the quadriceps, hamstrings, glutes, and core when done properly. Many lifters use a padded barbell to make the exercise more comfortable on the back and shoulders. Knowing how to properly install and use squat padding on a bar can optimize your performance and prevent injury.
Why Use Squat Padding on the Bar
Squat padding on the barbell can make squatting more comfortable and provide the following benefits:
- Cushions spine and traps: The padded jacket protects the vertebrae, traps, and rear delts from the hard steel bar compressing down during reps. This enhances comfort.
- Prevents bruising and abrasions: The pad helps avoid scraping and bruising the bone and tissue covering the rear shoulders and neck. This minimizes pain and injury risk.
- Distributed weight pressure: The padding disperses pressure across a wider surface area instead of concentrating force in smaller regions. Even pressure distribution enhances comfort.
- Insulates from the cold bar: On chilly days, warming up without padding can make the icy bar very uncomfortable on bare skin. The pad insulates the back from the cold.
- Improved safety: Ensuring the bar padding stays fixed in place enhances safety. Proper installation prevents the pad from sliding around or falling off during heavy reps.
What to Look for in Squat Padding
When selecting bar padding for squats, consider the following qualities:
- Firm density: The padding should be dense enough not to fully compress or “bottom out” under weight pressure. But overly stiff, unforgiving pads are uncomfortable. Look for medium-density foam.
- Moderate thickness: Thinner pads don’t provide adequate cushioning and support. However, pads that are too thick can obstruct proper form and create lifting imbalances. The ideal thickness is usually between 1/2 and 1 inch.
- Durable exterior: Quality bar padding has a rugged exterior that won’t rip, tear, or fray with frequent use. Padding encased in vinyl or leather is ideal for durability.
- Snug fit: padding constructed with multiple interior girths ensures a tight fit around a standard Olympic barbell. Snug pads don’t spin or slip during squats.
- Full shoulder coverage: optimal pad length will cushion the entire rear shoulder girdle across the traps, rear delts, and spine. The standard length is usually around 30 inches.
- Easy to secure: Quality bar pads have fastening systems that make securing and removing the pad quick and easy. Durable hook-and-loop closures (Velcro) tend to work best.
Where to Place Padding on a Squat Bar
Proper positioning is crucial for maximizing comfort and support when squatting.
Across the Mid-back and Rear Shoulder
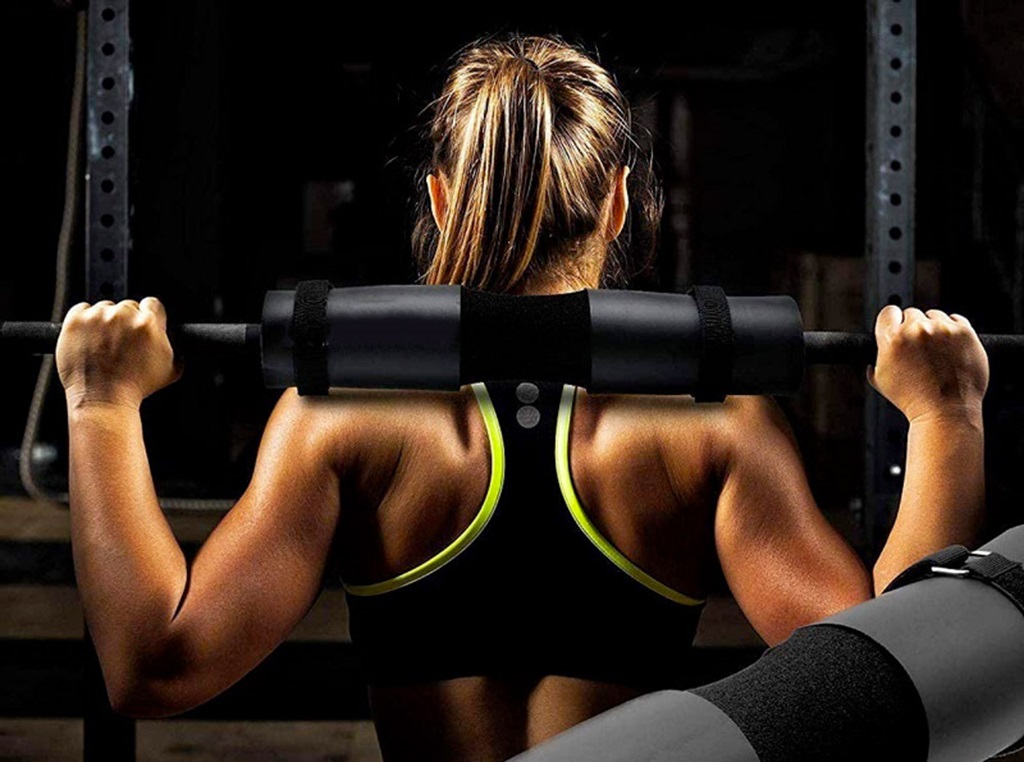
Rest the bar pad directly across the upper traps and rear deltoids, not the neck. Having padding positioned too high on the neck can cause painful cervical compression. Situate the pad just below the protruding vertebrae across the upper back muscles.
Equal Distance From the Neck
Center the padding equally on the left and right sides of the neck. Uneven or off-center padding placement can cause twisting, imbalance, and injury over time.
Stabilize and Keep Centered
Before unracking the bar, stabilize the padding firmly in place so it doesn’t slide or spin. Check the padding after unracking to ensure it remains centered. Adjust and secure as needed between sets.
Stand with Bar Padding on Traps
When lifting off the rack pins and getting into a squat stance, stand so the bar padding stays set directly across the upper back. Don’t duck under too far, bringing the pad up onto the neck vertebrae.
How to Install and Secure Padding on a Squat Bar
Installing squat padding on the bar takes only a minute when you follow the proper technique.
Fully Open Hook and Loop Fasteners
Begin by opening the entire length of the hook side of the Velcro. Make sure none of the receiving loops are covered. This exposes the maximum fastening surface area.
Wrap Pad Snug Around Bar
Wrap the padding horizontally around the barbell, encircling it completely. Feed the free end through the loop side of the opened Velcro strap. Pull tight.
Press the Velcro Closure Together
Bring the hook and loop sides together, lengthwise, along the underside of the bar. Firmly press together the entire Velcro closure to secure the pad snugly in place around the bar.
Check Tightness and Centering
Before lifting, test the pad by trying to spin it around the bar. A properly secured pad will not rotate or slip. Also, confirm the padding is centered in the middle of the bar before unracking.
Adjust the Fit if Needed
If the padding is loose or off-center, release the Velcro and re-secure it with a tighter wrap and even positioning. The pad should not budge during exercise.
Proper Squatting Form with Bar Padding

Wearing bar padding during squats doesn’t change fundamental exercise techniques.
- Place the bar across the back pad. Rest and stabilize the bar on the rear shoulder padding, not the neck. Create a muscular shelf by retracting shoulders.
- Descend with weight in heels. Hinge at hips and knees to squat down, keeping weight back in heels as knees track over feet.
- Hit parallel depth. Squat down until the tops of the thighs are at least parallel with the knees. Don’t compromise depth.
- Keep your chest lifted. Maintain a neutral, flat back by lifting your chest up as you descend. Don’t round the back.
- Drive from mid-foot: push through the center of the foot to stand back up, keeping knees steady over feet.
- Stand fully upright. Fully extend your knees and hips at the top. Don’t partially squat. Complete each rep.
Common Squat Mistakes to Avoid
Whether using padding or not, be vigilant against developing bad squat habits.
Neck Supporting Bar
Don’t rest the barbell solely across the cervical vertebrae. This compresses spine discs. Allow padding to support the bar weight.
Leaning Too Far Forward
Don’t hinge excessively at the hip with a shallow knee bend. This strains the lower back, taking the emphasis off the glutes and quads.
Knees Caving Inward
When descending, prevent knees from tracking inward, beyond feet. Push your knees gently outward to maintain alignment.
Lifting Heels
Don’t tilt your weight back toward your heels as you squat down. Keep feet flat and weight-centered mid-foot for stability.
Partial Range of Motion
Avoid squatting only partially down. Progress safely, but reach parallel thigh depth consistently to engage maximum muscle fibers.
Looking Down
Staring downward strains the neck and compromises posture. Pick a spot ahead and maintain a neutral neck/back position.
Advanced Squatting with Bar Padding

Intermediate and advanced lifters can integrate bar padding into more challenging squatting variations:
Increased Range of Motion
Gradually deepen squat depth once the parallel technique is mastered. Squat down until your hips hover just above the ground.
Overhead Squats
Perform squats with the padded bar locked out overhead to increase balance, core stability, and shoulder mobility. Keep the bar vertically aligned over your feet.
Narrow Stance
Bring your feet closer together to isolate the outer sweep of the quadriceps. Focus on maintaining hip and knee alignment while preventing valgus collapse.
Box Squats
Sit back onto a low box or bench set at parallel depth. Pause briefly before driving back up from a dead stop to maximize power and strength.
Front barbell squats
Wrap the bar with a pad and hold it in a front rack position across the shoulders. Eliminate back strain while targeting the quads, abs, and upper back muscles. Keep your elbows lifted.
Overload Strength
Once proficient, gradually increase the weight on the bar while maintaining excellent padding use, form, and technique. This builds greater strength.
Conclusion
Properly installing squat bar padding helps lifters of all levels perform the exercise more comfortably and safely. Quality squat padding on the spine, shoulders, and neck by evenly distributing pressure across the upper back. When fastened snugly in the optimal position, the padding stays fixed in place without obstructing the range of motion. Remember to keep your chest lifted, weight in your heels, and hit parallel depth or below regardless of using bar padding. With practice, padding becomes seamlessly integrated to improve squatting technique, prevent injury, and unlock bigger strength gains over time.
FAQs
-
Where exactly should padding be positioned on the back?
Rest padding on the muscle shelf created by the upper back traps and rear shoulder, between the base of the neck and the top of the shoulders. Never compress the cervical spine.
-
Does wearing squat padding allow you to lift more weight?
No, padding just reduces discomfort and injury risk on the spine and shoulders from the barbell. It doesn’t directly help you lift more weight safely. Proper form determines how much weight can be lifted.
-
Can you squat without any padding?
It’s possible but not recommended, especially for higher rep sets. Bare bar pressure on the vertebrae and bones can cause bruising, abrasion, and strain over time, leading to chronic pain or injury.
-
Does padding placement change with high-bar vs. low-bar squats?
The bar should sit in the same mid-upper back position, regardless of variation. The difference is hand placement: wide on the bar for a low bar, narrower grip for a high bar. The padding location stays the same.
-
If padding shifts during a set, should you stop and re-adjust?
Yes, it’s important to stop the set safely and re-center the padding before continuing. Uneven pressure from shifting pads alters mechanics and risks strain and injury.
